Account Set Up Guide
Ensure easy access to KangaTech for your users and understand admin accounts
- WHICH ACCOUNT TYPE FOR WHICH USER
- HOW MULTI-FACTOR AUTHENTICATION WORKS
- HOW TO SET UP MULTI-FACTOR AUTHENTICATION FOR YOUR KANGATECH ACCOUNT
- HOW TO DISABLE MULTI-FACTOR AUTHENTICATION
- RECOMMENDED ACCOUNT SETUP CONFIGURATION
WHICH ACCOUNT TYPE FOR WHICH USER?
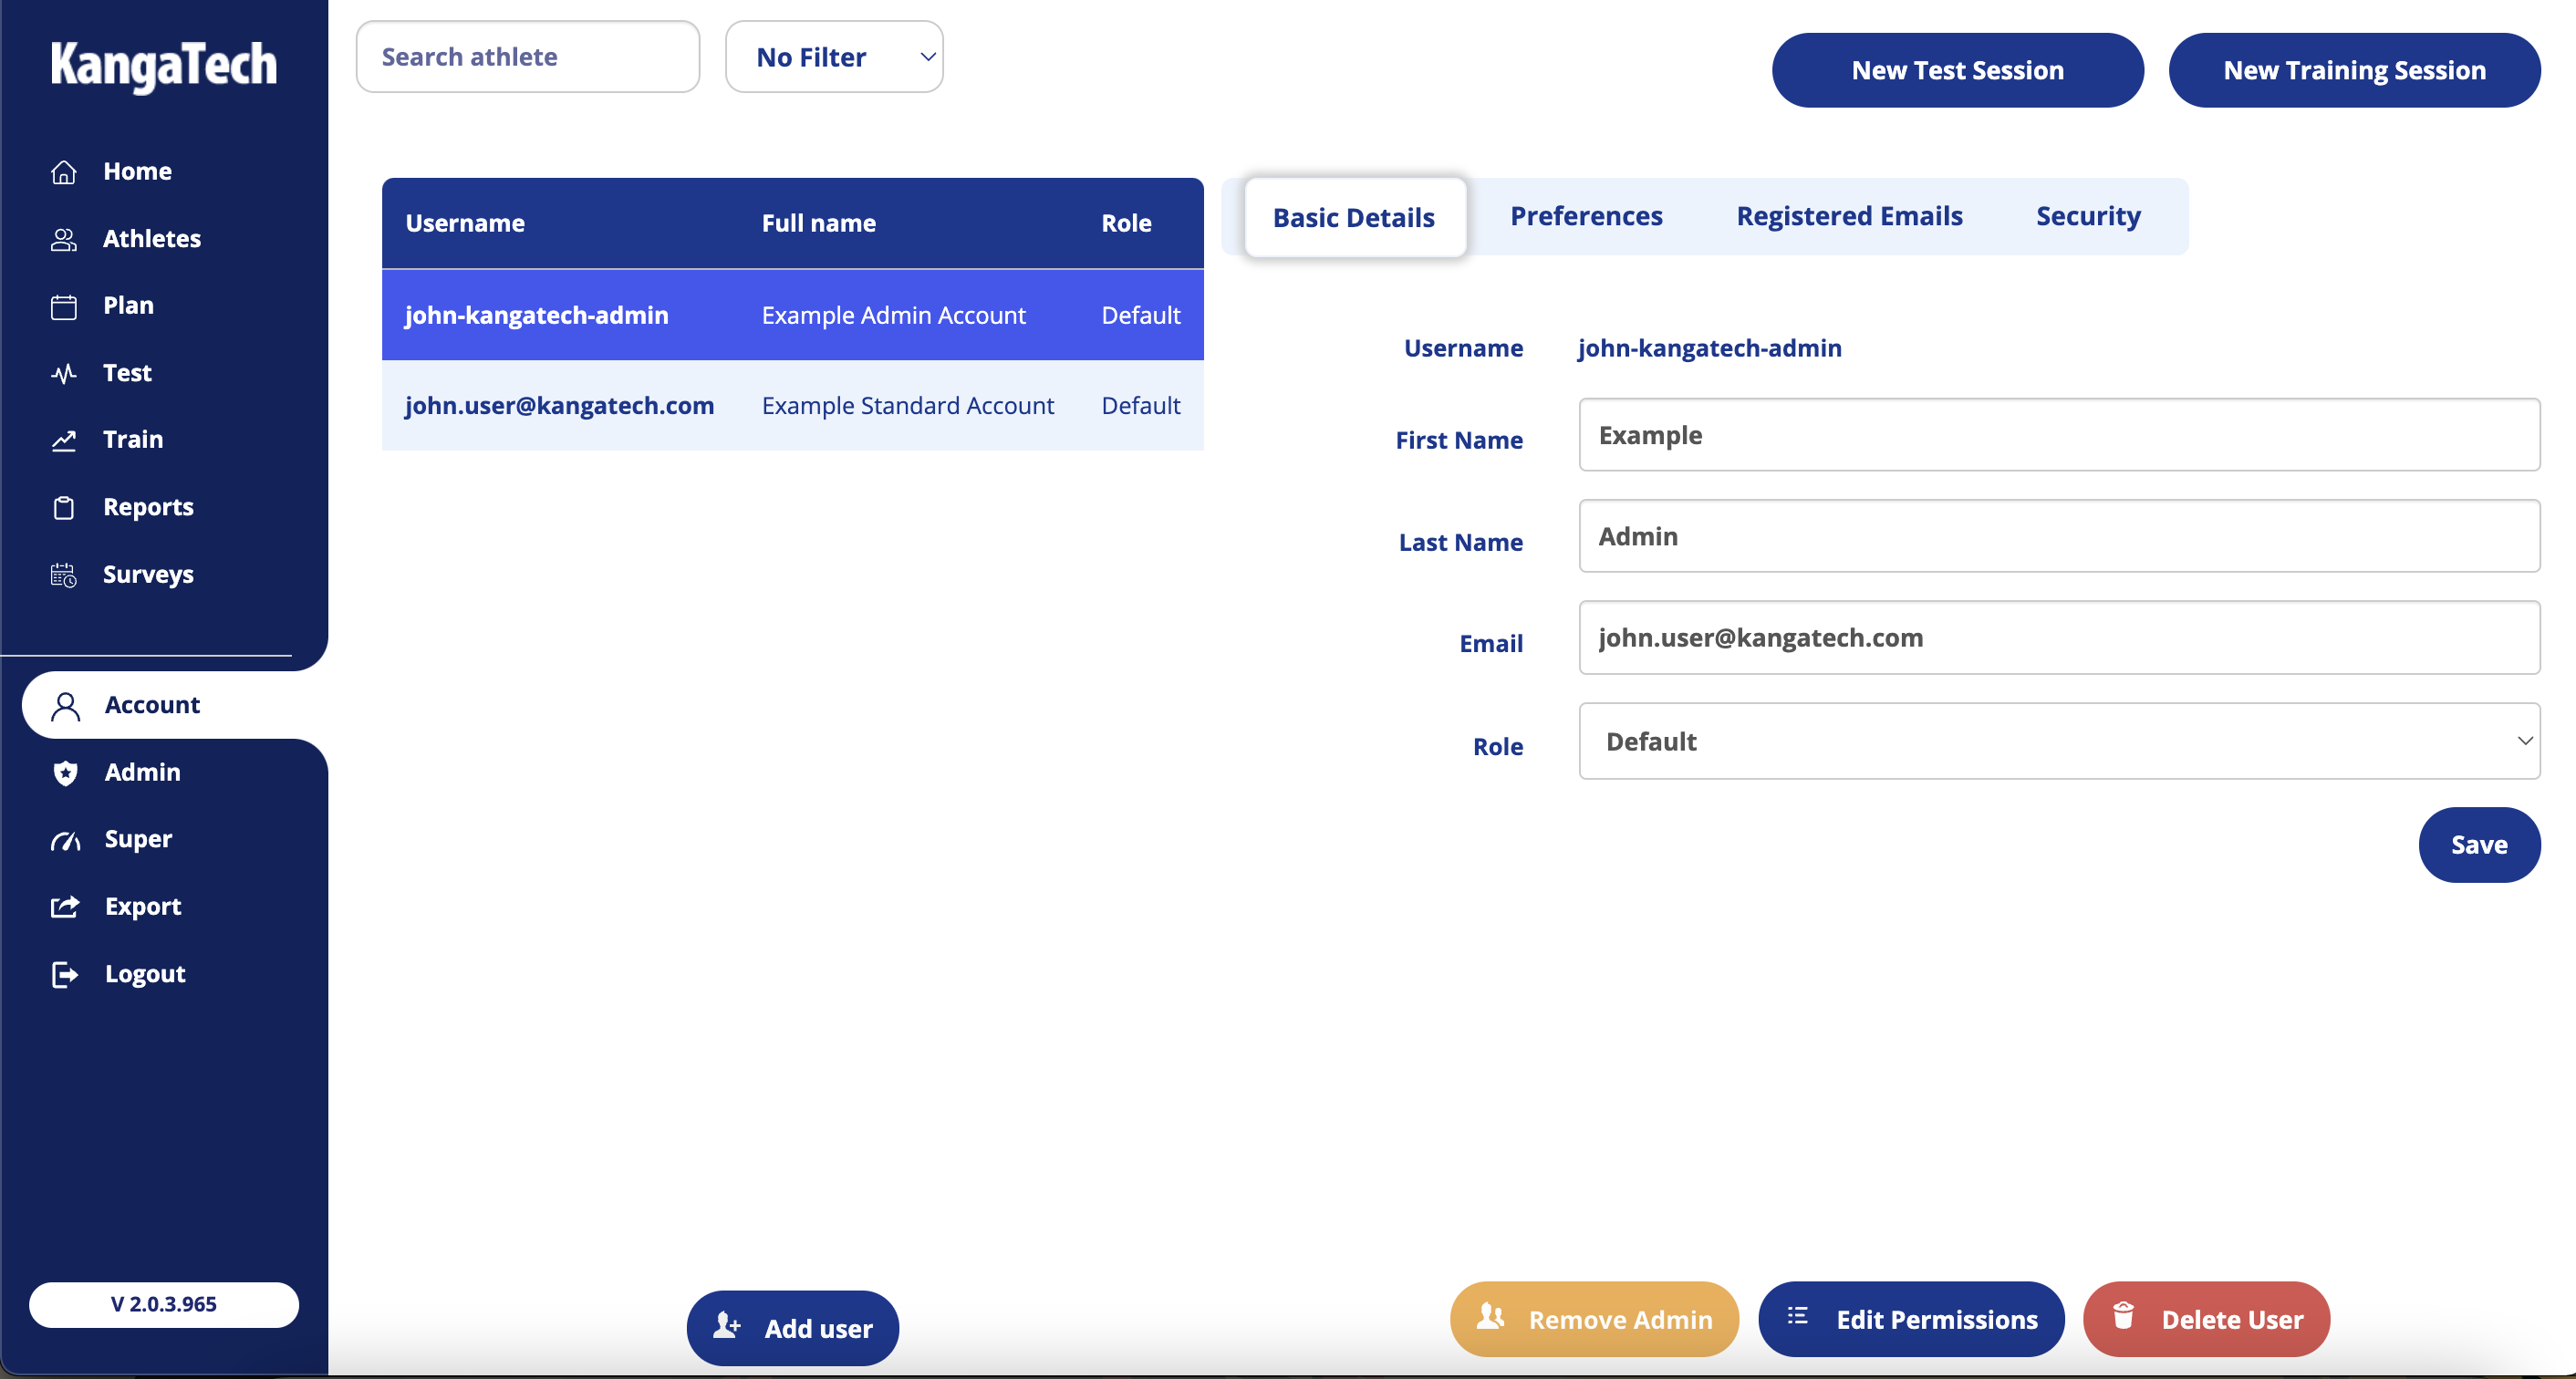
For the most commonly performed activities, a standard account can be used. Standard accounts don’t require multi-factor authentication. For tasks that can modify and delete athlete data, an admin account secured with MFA is required. It is possible to have two user accounts (one standard and one admin) against the same email address so long as the username is different. For example, you might create an account called “david@domain.tld” as a standard account for everyday use and “david-domain-admin” as an admin account for when you need to modify athlete data or other team members’ accounts.
Please read through the table below to assess which accounts are right for your team.
| Privilege | Admin Account | Standard Account |
|---|---|---|
| Conduct testing and training sessions | ✅ | ✅ |
| View testing and training data | ✅ | ✅ |
| Create and schedule sessions | ✅ | ✅ |
| Create new testing and training templates | ✅ | ✅ |
| Add and delete athletes | ✅ | ❌ |
| Add and delete user accounts | ✅ | ❌ |
| Add and delete athlete and protocol groups | ✅ | ❌ |
| Change other users details | ✅ | ❌ |
| Disable other users MFA | ✅ | ❌ |
| Reset other users passwords | ✅ | ❌ |
| Delete testing and training data | ✅ | ❌ |
| Update user permissions | ✅ | ❌ |
HOW MULTI-FACTOR AUTHENTICATION WORKS
Multi-factor authentication will add an extra layer of security to your KangaTech account. This extra level of security will prevent anyone, besides you, from gaining access to your account, even if your password is stolen.
This additional verification will be a rotating code that is unique to you. This code will exist separate from your KangaTech account and can be found in the Google Authentication app once MFA has been set up.
Admin users are now required to set up Multi-factor authentication upon the first login. Multi-factor authentication is optional for standard non-admin accounts. Once multi-factor authentication has been enabled, every time you log into your account you'll need your password and an additional form of verification.
If you are using an admin account and do not wish to use multi-factor authentication, then please read through the differences between Admin and Standard accounts. You may not need an Admin account for your daily use. If this is the case you can create a Standard account to avoid using multi-factor authentication.
HOW TO SET UP MULTI-FACTOR AUTHENTICATION FOR YOUR KANGATECH ACCOUNT
The Google Authenticator mobile app is required before beginning the setup of multi-factor authentication on your account. Please download it from the Google Play Store for Android, or the App Store for iOS.
Admin users who do not have multi-factor authentication enabled will see the multi-factor authentication pop-up which cannot be dismissed unless multi-factor authentication is set up. If you are using a standard account and wish to enable multi-factor authentication you can do so by,
- Logging into the KT web app.
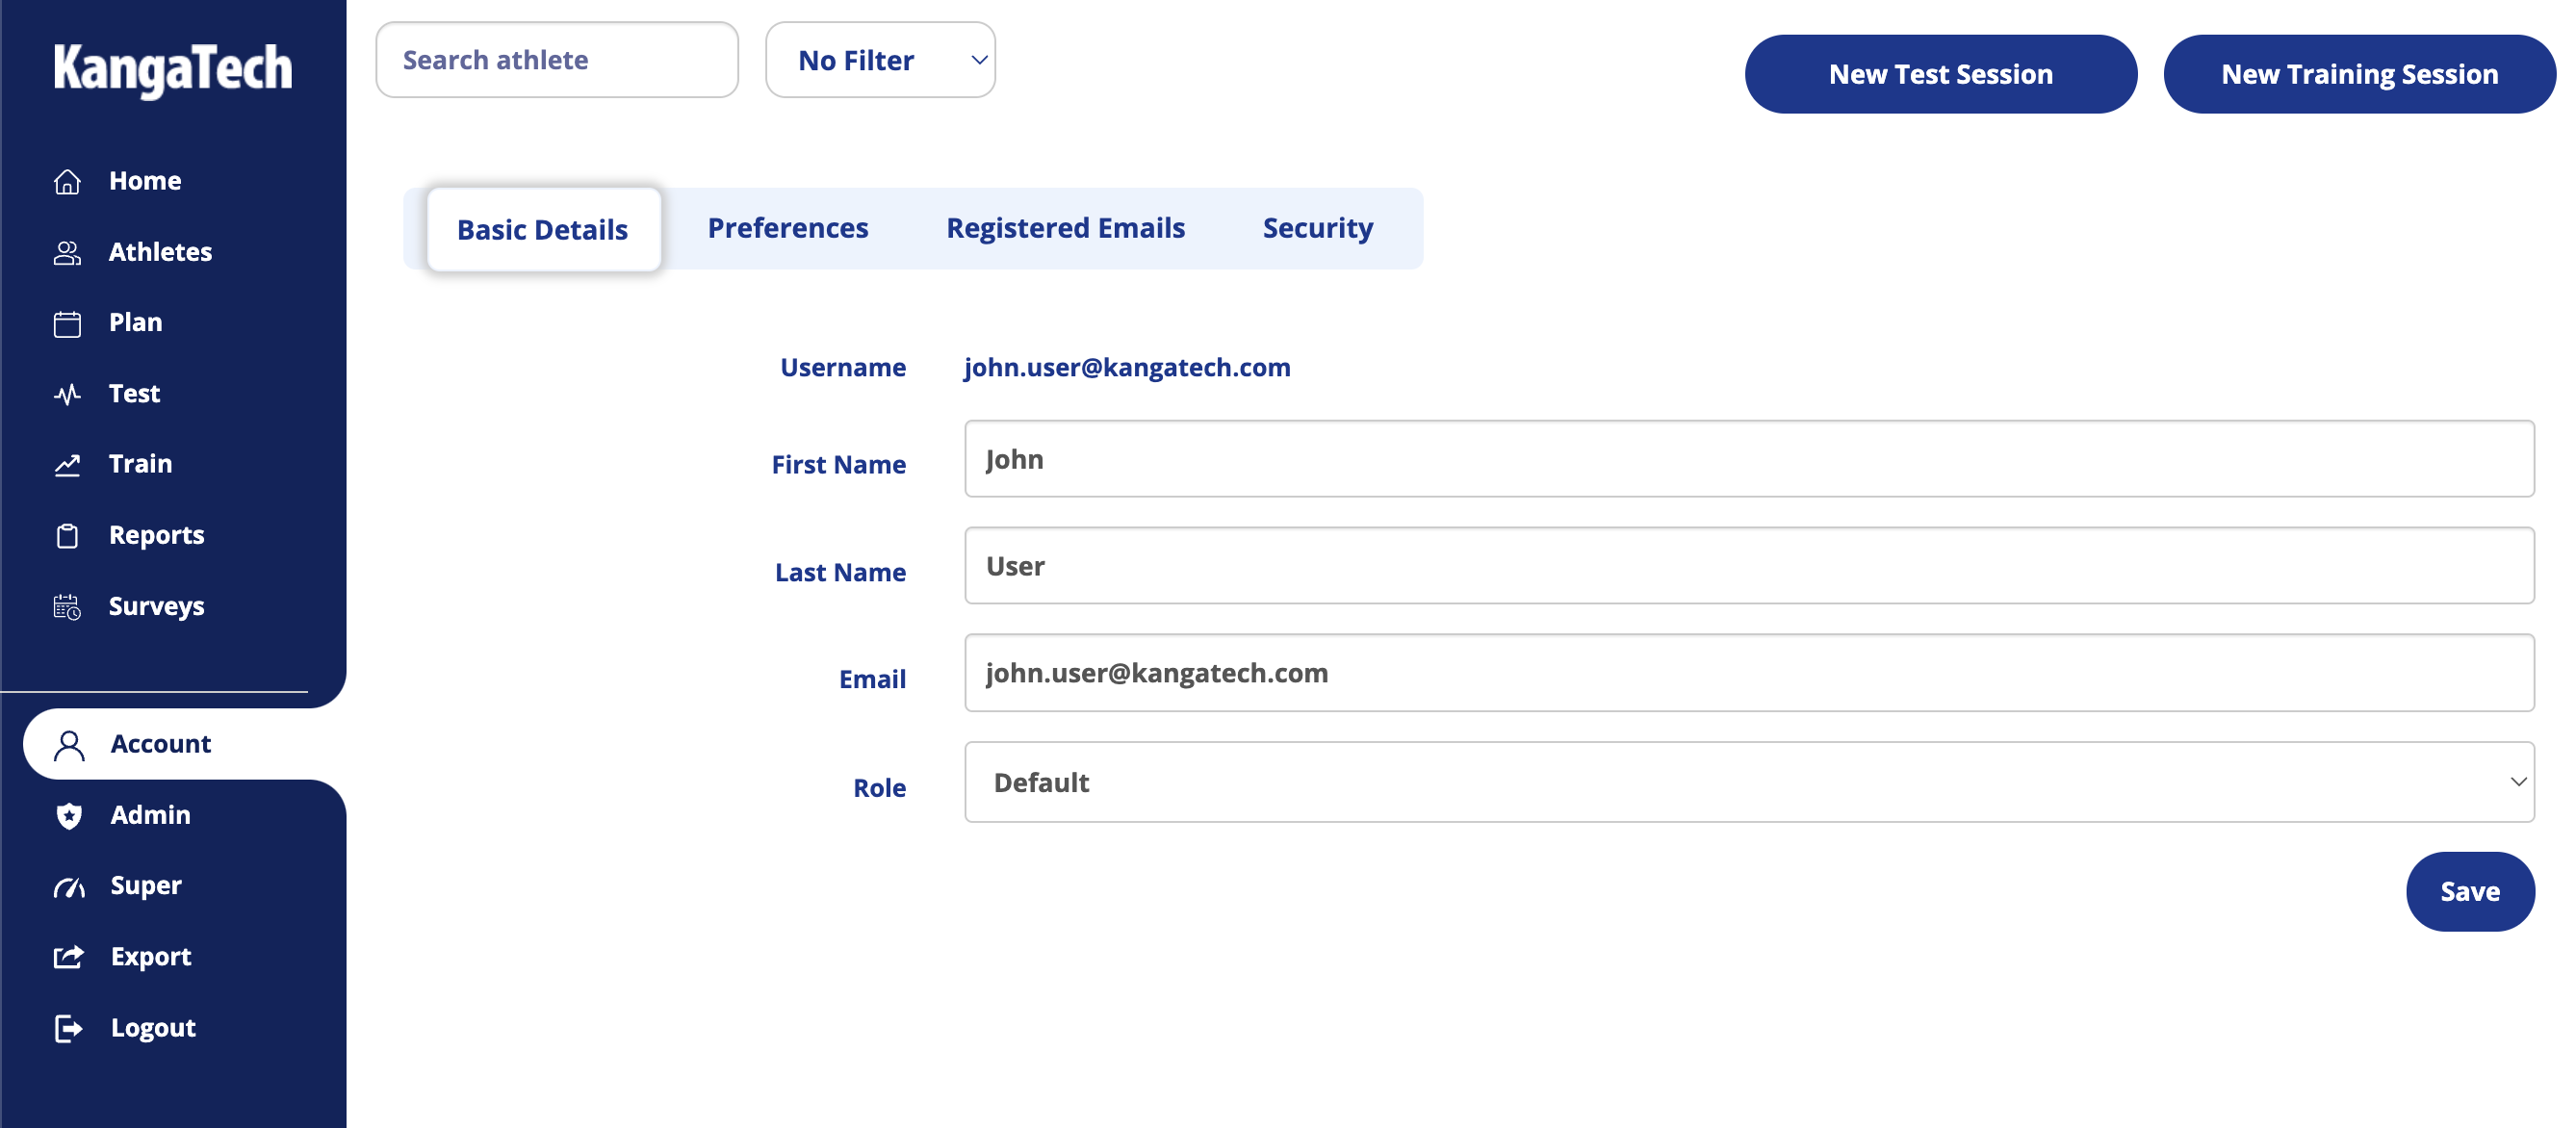
- Navigate to the “Accounts” page and open the “Security tab’.
- Press “Setup” under the MFA section.
MFA setup steps
Download the Google Authenticator app on your phone.
Using the Google Authenticator app, scan the QR code presented to you in the KT web app. A new code appear in your Google Authenticator list shown as “KangaTech (YOUR USERNAME)” You will only need to scan the QR code one time. If you refresh the page, close the page or terminate the browser, you will need to scan the QR code again and press “Replace” in the Google authenticator app.
Enter the code from the authenticator app into the first input field in the KT web app MFA pop-up.
Wait until the code from the authenticator app refreshes and then enter the new code into the second input field in the KT web app MFA pop-up. If you mistakenly enter the wrong code, clear both input fields and wait for the authentication code to refresh. Then please repeat steps 4 and 5.
Press “Done”.
HOW TO DISABLE MULTI-FACTOR AUTHENTICATION
Multi-factor authentication can be disabled at any time. If you are using a Standard account you may disable MFA only for your own account whereas Admin accounts can remove MFA for any account. This can be done by,
First, navigate to the “Accounts” page and open the “Security tab’. Press “Disable” under the MFA section.
If you have lost your phone and can’t log into your account then you will need a user with an admin account to remove MFA for you.
RECOMMENDED ACCOUNT SETUP CONFIGURATION
Here you will see an example of how one user can have two accounts linked to the same email account. It is our recommendation that on initial setup of your admin account that you create a secondary standard account. You will only need MFA for an admin account.