Mid Thigh Pull - Soleus Bias
Setup
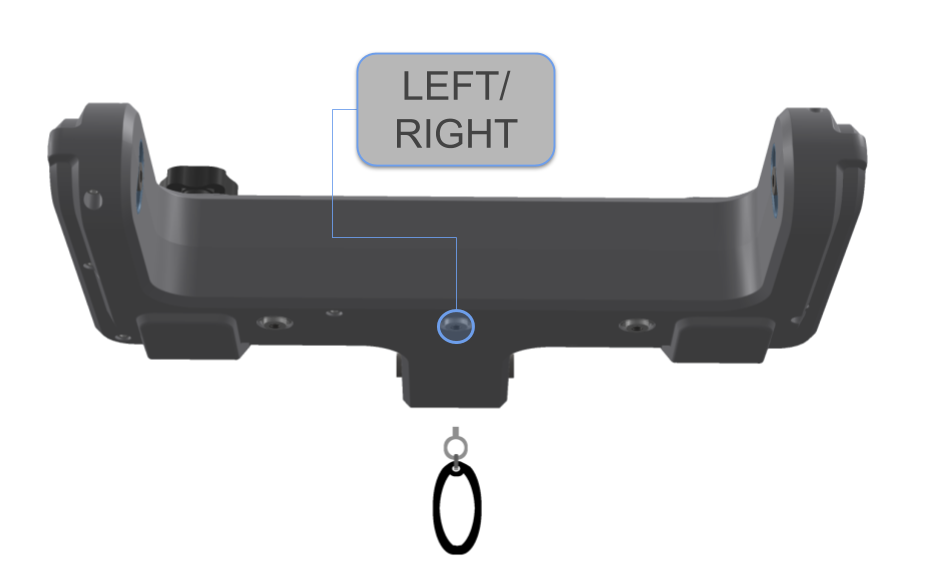
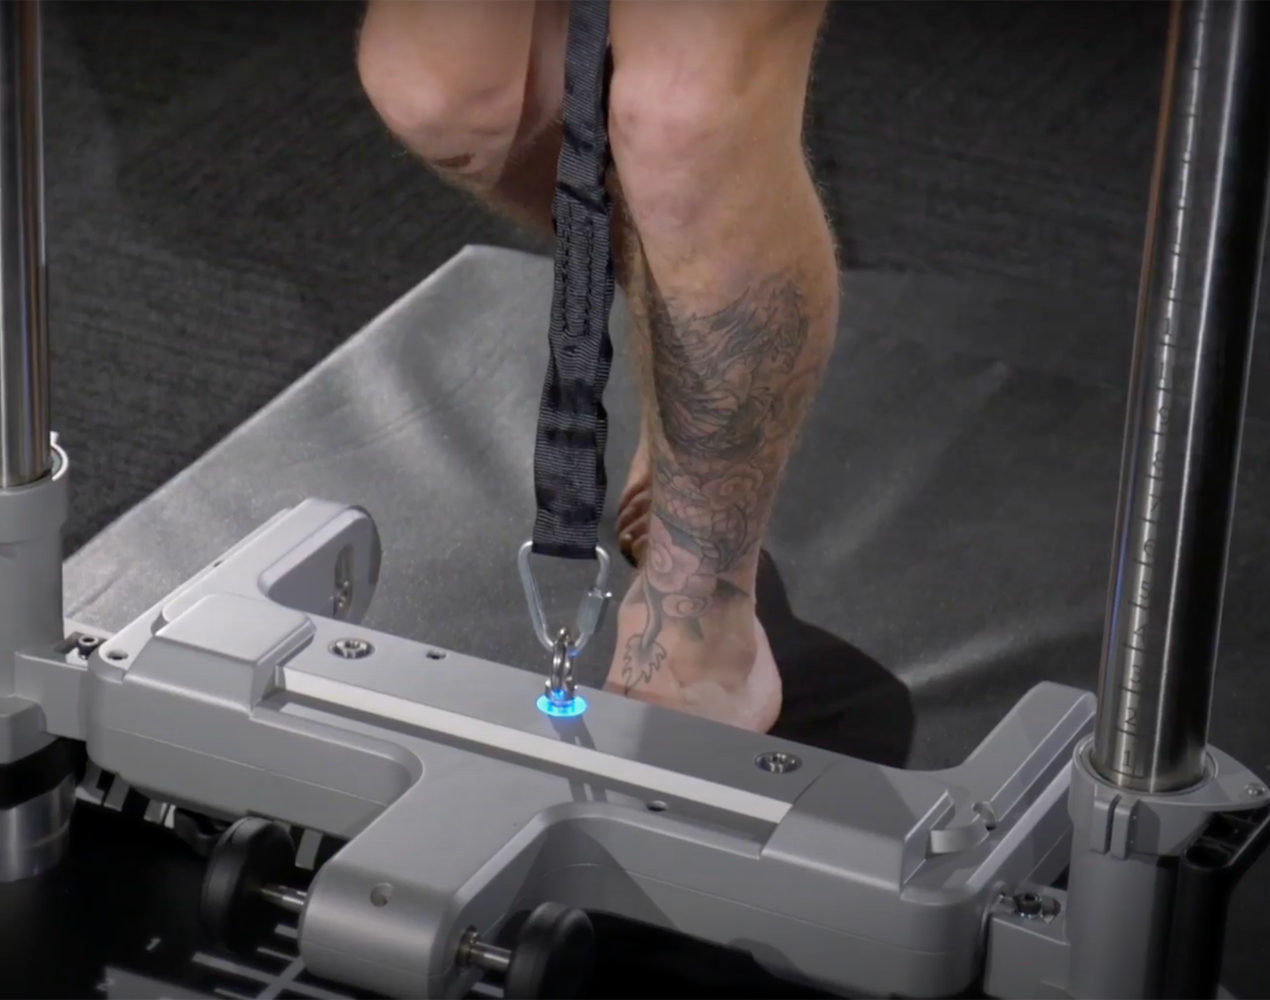
1: Attach the mid thigh pull bar to sensor 4 with the housing rotated 180 degrees.
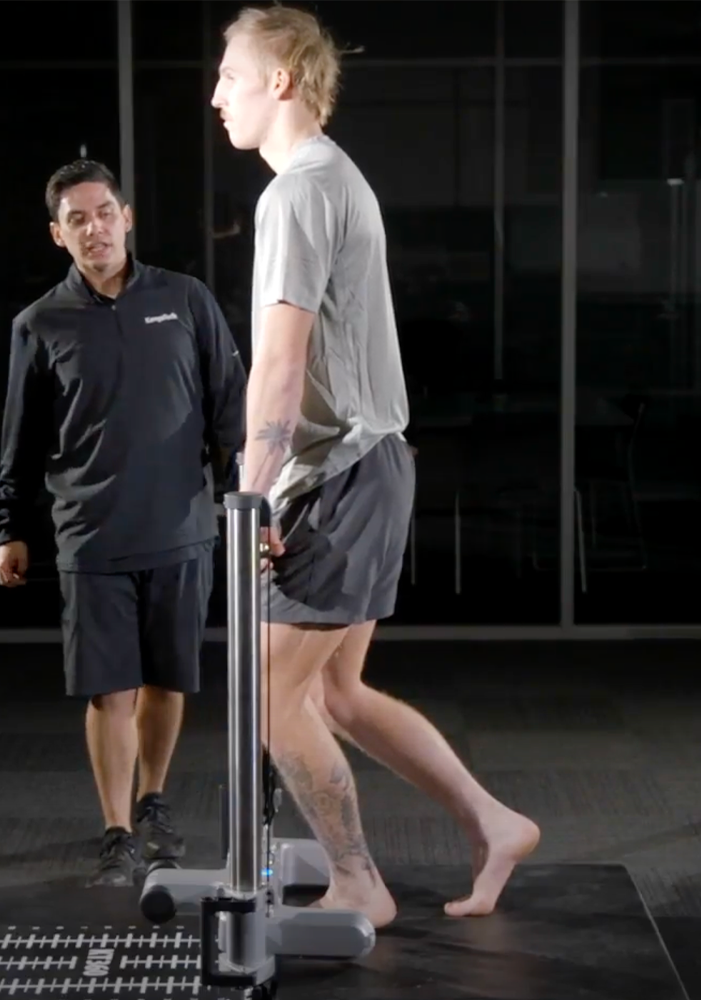
2: Stand far side of the housing, adopt a staggered stance, on testing limb flex knee to 110 degrees and hip flexed to 120 degrees. Position testing foot slightly off center so knee does not come into contact with attachment cord. Maintain a positive shin angle with ankle Dorsi Flexed to 70 degrees. Rear foot used to provide additional stability for the athlete by maintaining ground contact with the great toe.
3: Keep your back flat and your elbows extending with arms hanging, bar resting on your thigh. Ensure the housing is at a height where the slack is taken from the cord to perform an ISO pull with ankles into a neutral position when the heels are lifted slightly.
4: Note, foam base may be removed to improve athlete stability.
Cues
1: Test unilaterally.
2: Maintain pressure through the front foot pushing the balls of the foot into the ground as the heel is lifted slightly.
3: Keep lumbar posture, knee and hip angles the same as you develop force.
4: Build to maximum force over the 5 second period.