Hip Mid Thigh Pull Single Leg
Setup
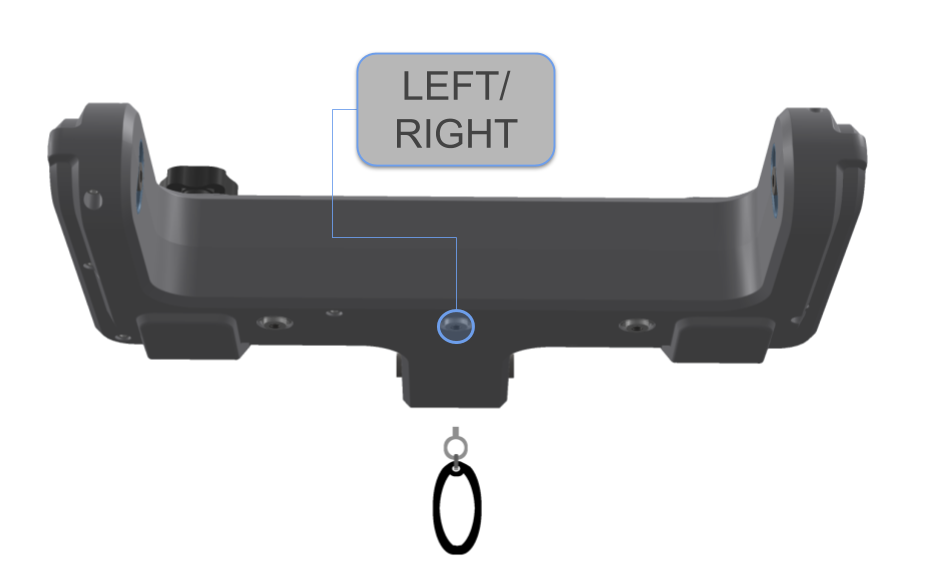
1: Attach the short bar handle to sensor 4 with the sensor housing rotated 180 degrees.
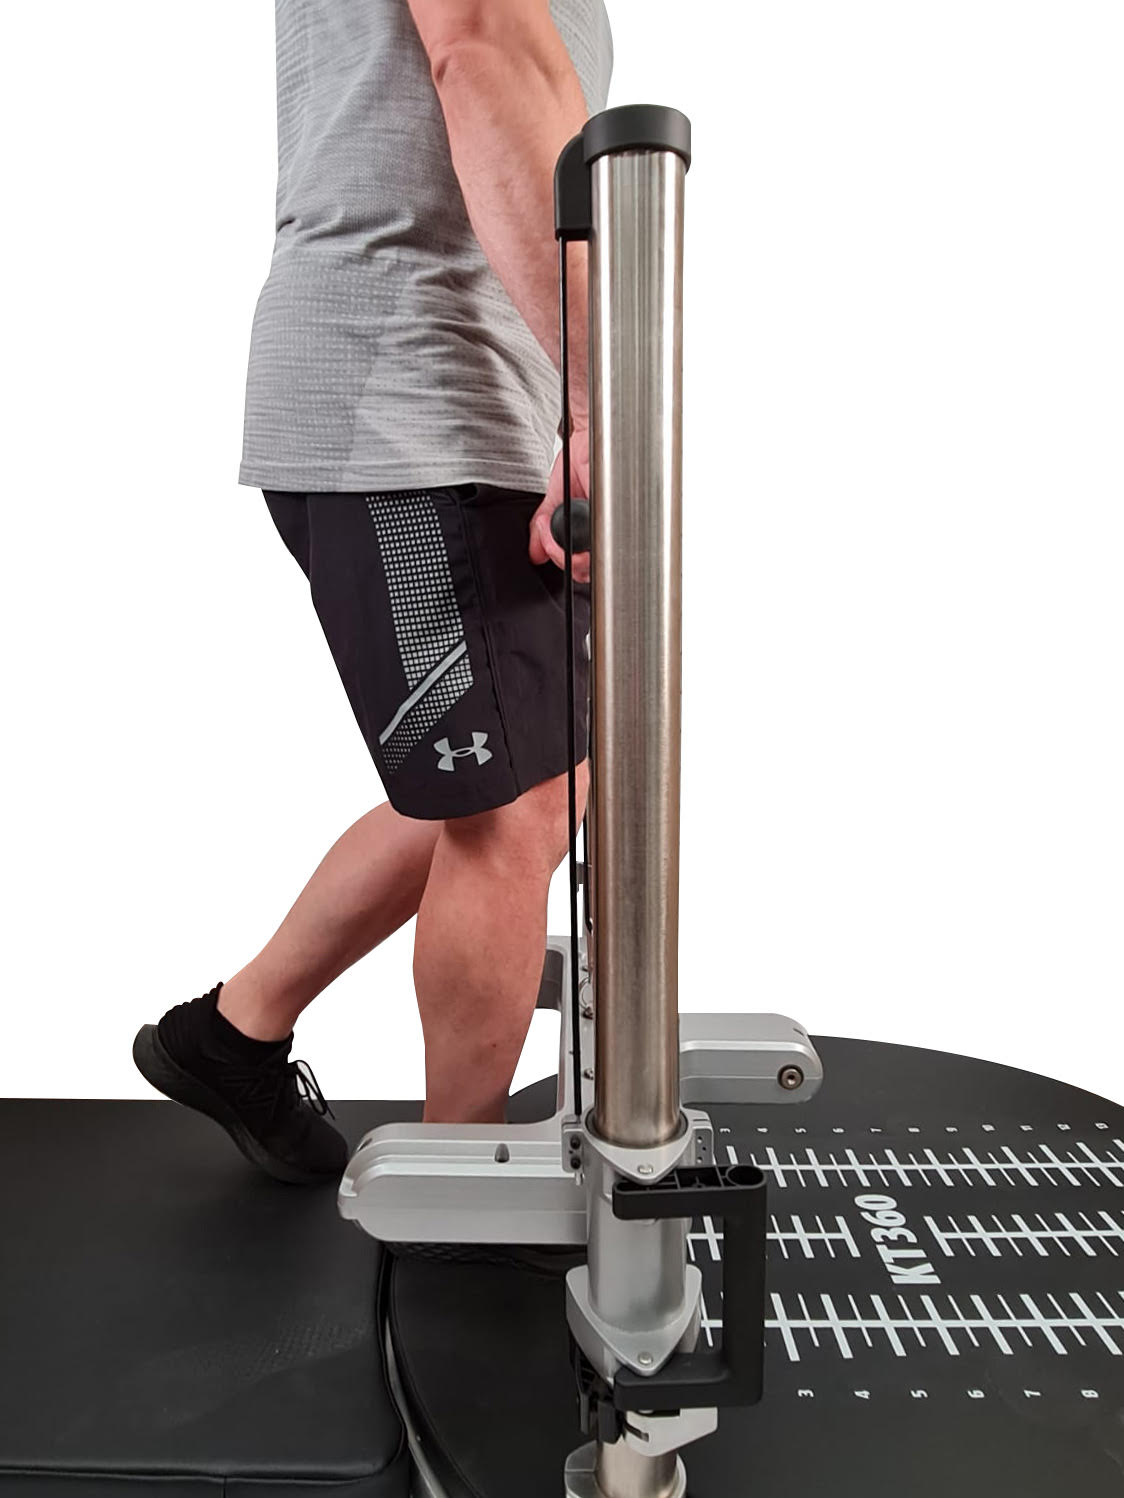
2: Stand on the far side of the housing with knees flexed 130 degrees and hips 140 degrees, assuming the second phase of the ‘pull’ in a clean. Standing on this side of the housing will allow a more central position of the stance/test leg. Move the supplementary mat to be behind you.
3: The foot of the test limb should be centered on the base mat’s center grid line and the strap from the handle immediately inside the medial aspect of the patella. The non-use limb is positioned with the foot behind the test hip with the great toe resting lightly on the supplementary mat.
4: Keeping your back flat, elbows extended and arms hanging close to your thighs, adjust the housing height to allow you to grip the bar ready to perform a mid-thigh pull from just above your knee caps with knees and hips at the aforementioned angles.
5: Record height of the top of carriers for future reference.
6: (note: Sensor 4 currently has a capacity limit of 200kg. The software will not allow forces in excess of this to be applied during testing or training.)
Cues
1: Unilateral protocol, alternate feet each rep.
2: Maintain pressure thru the inside of the heel bone and ball of the big and little toe for good foot posture.
3: Keep lumbar posture, knee, and hip angle the same as you develop force.
4: Build to the selected percentage of max force (MVIC) or proportion of maximum effort (RPE) over a 5s period.