Add New Test/Training Session
Add New Test Session or New Training Session:
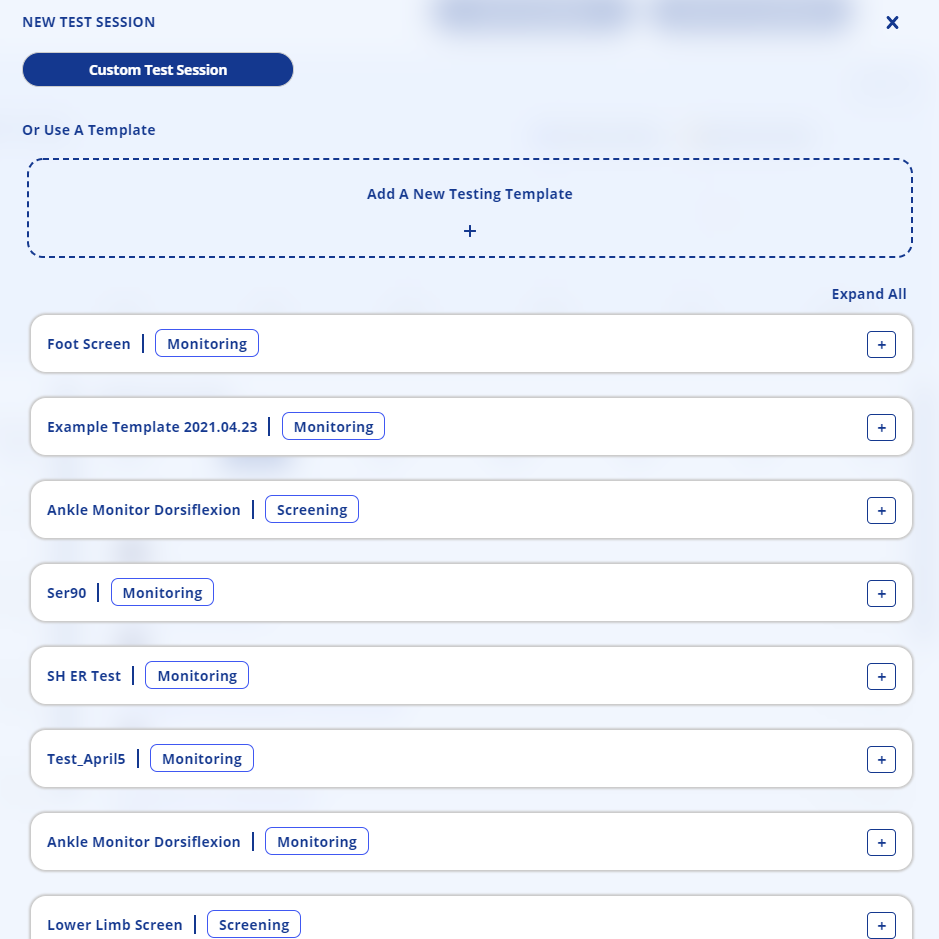
To add a new test or training session to be completed on the current day, click the blue New Test Session or New Training Session button in the upper right area. Alternatively, you may schedule a test or training session for a future date by utilizing the Plannning calendar (see Plan - Adding Sessions).

You have the option to add a new custom test or training session from scratch, or to add a session using a previously created template. You can also create a new test or training template to be added to the available template list. See also Templates.
Create and Add a New Custom Test Session:
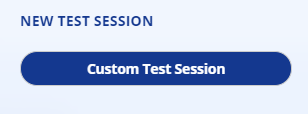
- Click the blue Custom Test Session button on the New Test Session pop-up window.
- Complete each field in the Create New Test window.
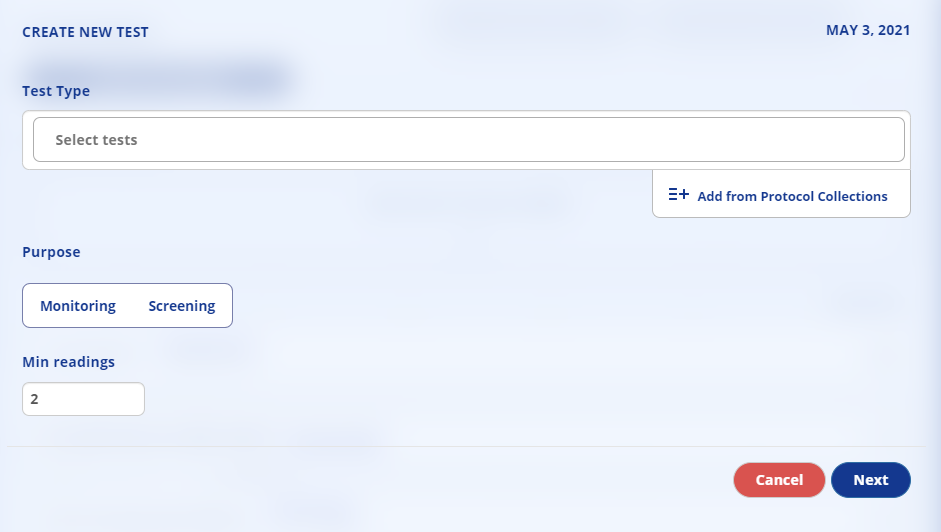
Each of these fields are required:
- Test Type: Click the "Select tests" box and select the specific protocol from the drop down list. You can also add protocols using the Select Test Group at the lower right of the Test Type box.
- Purpose: Click on
MonitoringorScreening. Screenings are typically less frequent (e.g. 3-4 times per year) and should be scheduled when an athlete is ready to test at their peak. Monitoring sessions are typcially more frequent (e.g. weekly in season). - Min readings: Specify the minimum number of readings that must be recorded as part of the session.
Each of these fields are optional:
- Limit: For a monitoring session, a limit can be displayed in the testing window in effort to cap athlete exertion. This is useful when testing in-season when a submaximal effort is sufficient.
Screening Session Group: For a screening session.
Click the blue Next button to proceed.
- Click on the specific athlete portrait to include or remove them from the test session. Available athletes may need to be scrolled and you may also search by name in the search box. You can also add athlete groups using the Add all from group in the lower right of the Available area.
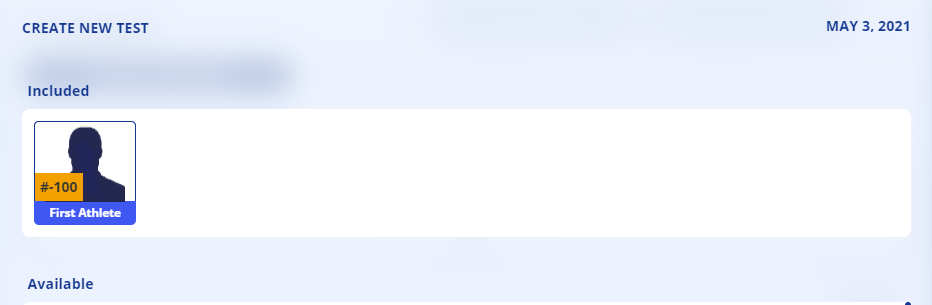

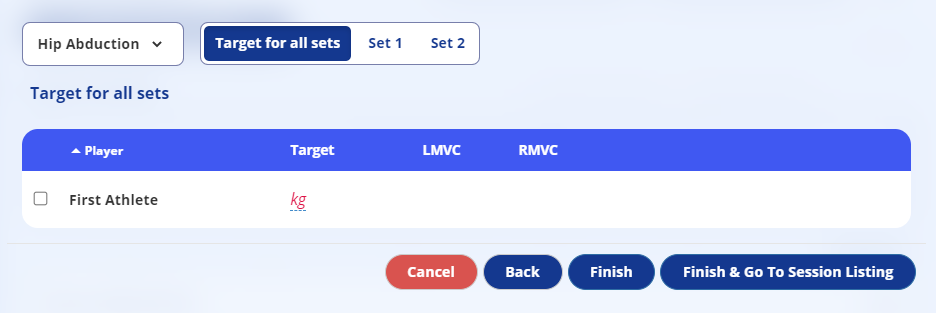
- Click the blue Finish button which schedules the testing session and returns to the previous New Test Session window. Alternatively, click on the blue Finish & Go To Session Listing button which takes you to the Test side menu area.

Create and Add a New Custom Training Session:
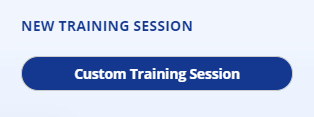
- Click the blue Custom Training button on the New Training Session pop-up window.
- Click the "Select training" box and then click on the specific protocol from the drop down list.
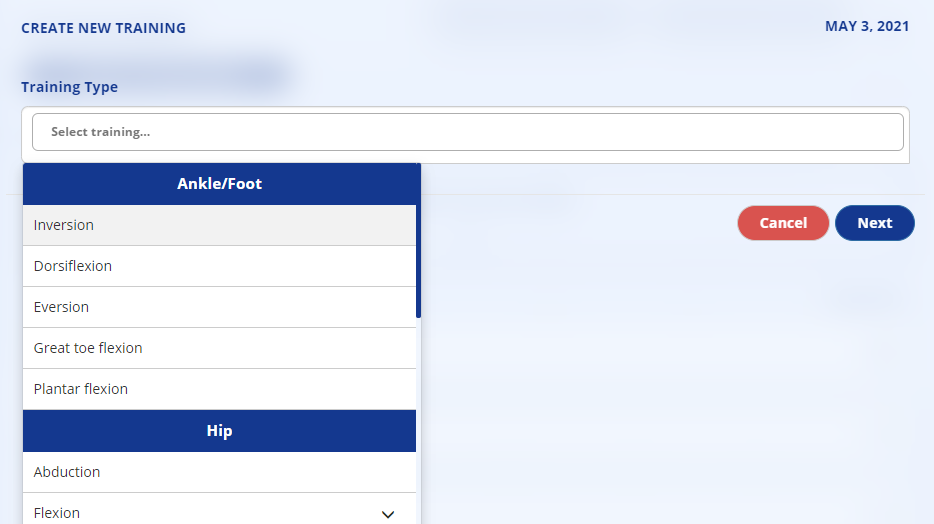
- Click the blue Next button to proceed.
- Click on the specific athlete portrait to include or remove them from the training session. Available athletes may need to be scrolled and you may also search by name in the search box. You can also add athlete groups using the Add all from group in the lower right of the Available area.

- Click the blue Next button to proceed to the training parameters window.
- Complete each field in the Create New Training window.
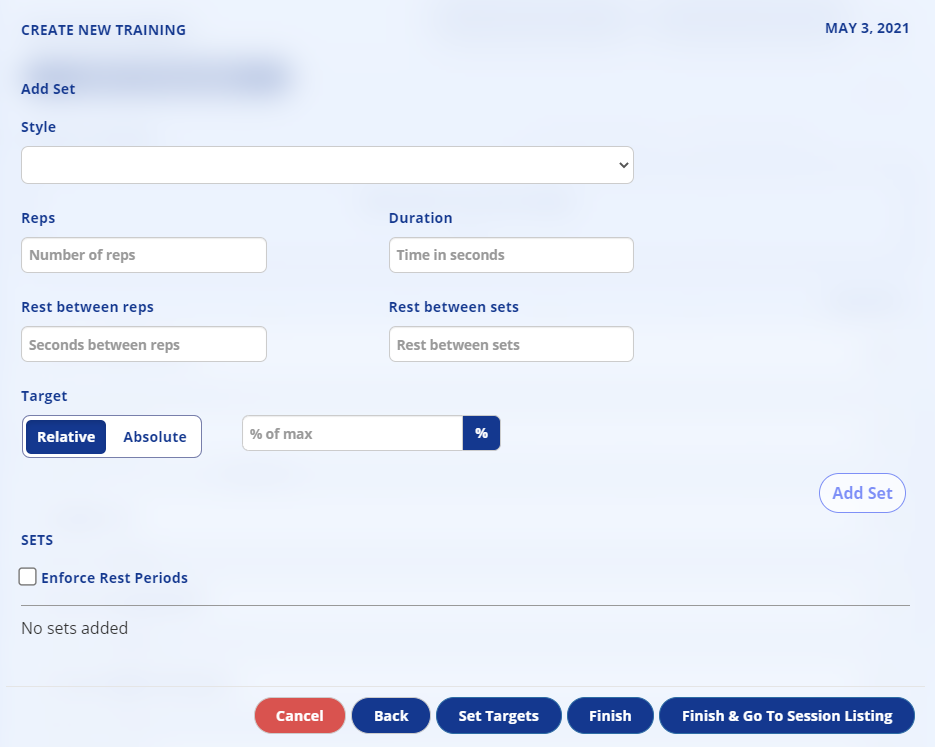
Each of these fields are required:
- Style: Click the "Style" box and select the specifc training style for the drop down list. The fields will populate depending on the style selected. The "Other" style will require manual entry of all fields. You may also manually adjust each field as needed.
- Reps: Enter the number of repetitions per set.
- Duration: Enter the length of time in seconds for each rep.
- Rest between reps: Enter the rest duration in seconds between each rep.
- Rest between sets: Enter the rest period in seconds after the current set.
Target: Click on "Relative" (% of max) or "Absolute" to select the target type. This value is the prescribed force to maintain during each rep within the current set. Enter the specific target value by typing in the number or using the arrows in the box to increase or decrease the value.
Click the white Add Set button, which will become available on the right side when each field has been populated. This will add the prescribed set to the training session and will be visible under "Sets" near the bottom.
- Continue to add additional sets as needed for the training session. Sets can be duplicated by clicking the duplicate icon at the right side of each set. Sets can be removed by clicking the trash icon. Sets can be reordered by clicking and dragging into the correct order.

- When all sets for the training session have been entered, click either "Set Targets" to adjust specific targets within each athletes training session, or click the blue Finish button to schedule the training session and returns to the previous New Training Session window. Alternatively, you can click on the blue Finish and Go To Session Listing button which takes you to the Train side menu area.